Deploy MinIO: Single-Node Multi-Drive
The procedures on this page cover deploying MinIO in a Single-Node Multi-Drive (SNMD) configuration. SNMD deployments provide drive-level reliability and failover/recovery with performance and scaling limitations imposed by the single node.
For production environments, MinIO strongly recommends using the MinIO Kubernetes Operator to deploy Multi-Node Multi-Drive (MNMD) or “Distributed” Tenants.
Prerequisites
Storage Requirements
The following requirements summarize the Storage section of MinIO’s hardware recommendations:
- Use Local Storage
Direct-Attached Storage (DAS) has significant performance and consistency advantages over networked storage (NAS, SAN, NFS). MinIO strongly recommends flash storage (NVMe, SSD) for primary or “hot” data.
- Use XFS-Formatting for Drives
MinIO strongly recommends provisioning XFS formatted drives for storage. MinIO uses XFS as part of internal testing and validation suites, providing additional confidence in performance and behavior at all scales.
MinIO does not test nor recommend any other filesystem, such as EXT4, BTRFS, or ZFS.
- Use Consistent Type of Drive
MinIO does not distinguish drive types and does not benefit from mixed storage types. Each pool must use the same type (NVMe, SSD)
For example, deploy a pool consisting of only NVMe drives. If you deploy some drives as SSD or HDD, MinIO treats those drives identically to the NVMe drives. This can result in performance issues, as some drives have differing or worse read/write characteristics and cannot respond at the same rate as the NVMe drives.
- Use Consistent Size of Drive
MinIO limits the size used per drive to the smallest drive in the pool.
For example, deploy a pool consisting of the same number of NVMe drives with identical capacity of
7.68TiB. If you deploy one drive with3.84TiB, MinIO treats all drives in the pool as having that smaller capacity.- Configure Sequential Drive Mounting
MinIO uses Go expansion notation
{x...y}to denote a sequential series of drives when creating the new deployment, where all nodes in the deployment have an identical set of mounted drives. Configure drive mounting paths as a sequential series to best support this notation. For example, mount your drives using a pattern of/mnt/drive-n, wherenstarts at1and increments by1per drive.- Persist Drive Mounting and Mapping Across Reboots
Use
/etc/fstabto ensure consistent drive-to-mount mapping across node reboots.Non-Linux Operating Systems should use the equivalent drive mount management tool.
Exclusive access to drives
MinIO requires exclusive access to the drives or volumes provided for object storage. No other processes, software, scripts, or persons should perform any actions directly on the drives or volumes provided to MinIO or the objects or files MinIO places on them.
Unless directed by MinIO Engineering, do not use scripts or tools to directly modify, delete, or move any of the data shards, parity shards, or metadata files on the provided drives, including from one drive or node to another. Such operations are very likely to result in widespread corruption and data loss beyond MinIO’s ability to heal.
Memory Requirements
Changed in version RELEASE.2024-01-28T22-35-53Z: MinIO pre-allocates 2GiB of system memory at startup.
MinIO recommends a minimum of 32GiB of memory per host. See Memory for more guidance on memory allocation in MinIO.
Deploy Single-Node Multi-Drive MinIO
The following procedure deploys MinIO consisting of a single MinIO server and a multiple drives or storage volumes.
1) Pull the Latest Stable Image of MinIO
Select the tab for either Podman or Docker to see instructions for pulling the MinIO container image. The instructions include examples for both quay.io and DockerHub:
- quay.io
podman pull quay.io/minio/minio
- DockerHub
podman pull docker://minio/minio
- quay.io
docker pull quay.io/minio/minio
- DockerHub
docker pull docker://minio/minio
2) Create the Environment Variable File
Create an environment variable file at /etc/default/minio.
For Windows hosts, specify a Windows-style path similar to C:\minio\config.
The MinIO Server container can use this file as the source of all environment variables.
The following example provides a starting environment file:
# MINIO_ROOT_USER and MINIO_ROOT_PASSWORD sets the root account for the MinIO server.
# This user has unrestricted permissions to perform S3 and administrative API operations on any resource in the deployment.
# Omit to use the default values 'minioadmin:minioadmin'.
# MinIO recommends setting non-default values as a best practice, regardless of environment.

MINIO_ROOT_USER=myminioadmin
MINIO_ROOT_PASSWORD=minio-secret-key-change-me

# MINIO_VOLUMES sets the storage volumes or paths to use for the MinIO server.
# The specified path uses MinIO expansion notation to denote a sequential series of drives between 1 and 4, inclusive.
# All drives or paths included in the expanded drive list must exist *and* be empty or freshly formatted for MinIO to start successfully.

MINIO_VOLUMES="/data-{1...4}"

# MINIO_OPTS sets any additional commandline options to pass to the MinIO server.
# For example, `--console-address :9001` sets the MinIO Console listen port
MINIO_OPTS="--console-address :9001"
Include any other environment variables as required for your local deployment. ..
New in version Server: RELEASE.2024-03-03T17-50-39Z
MinIO automatically generates unique root credentials if all of the following conditions are true:
KES Release 2024-03-01T18-06-46Z or later running
Have not defined:
MINIO_ROOT_USERvariableMINIO_ROOT_PASSWORDvariable
Have:
set up KES with a supported KMS target
disabled root access with the MinIO environment variable
When those conditions are met at startup, MinIO uses the KMS to generate unique root credentials for the deployment using a hash-based message authentication code (HMAC).
If MinIO generates such credentials, the key used to generate the credentials must remain the same and continue to exist. All data on the deployment is encrypted with this key!
To rotate the generated root credentials, generate a new key in the KMS, then update the value of the MINIO_KMS_KES_KEY_NAME with the new key.
3) Create and Run the Container
Select the container management interface of your choice for the relevant command syntax.
Copy the command to a text file for further modification.
podman run -dt                                  \
  -p 9000:9000 -p 9001:9001                     \
  -v PATH1:/data-1                              \
  -v PATH2:/data-2                              \
  -v PATH3:/data-3                              \
  -v PATH4:/data-4                              \
  -v /etc/default/minio:/etc/config.env         \
  -e "MINIO_CONFIG_ENV_FILE=/etc/config.env"    \
  --name "minio_local"                          \
  minio server --console-address ":9001"
Specify any other options to podman run as necessary for your local environment.
Copy the command to a text file for further modification.
docker run -dt                                  \
  -p 9000:9000 -p 9001:9001                     \
  -v PATH1:/data-1                              \
  -v PATH2:/data-2                              \
  -v PATH3:/data-3                              \
  -v PATH4:/data-4                              \
  -v /etc/default/minio:/etc/config.env         \
  -e "MINIO_CONFIG_ENV_FILE=/etc/config.env"    \
  --name "minio_local"                          \
  minio server --console-address ":9001"
Specify any other options to docker run as necessary for your local environment.
For running Docker in Rootless mode, you may need to set the following additional Docker CLI options:
- Linux
--user $(id -u):$(id -g)- directs the container to run as the currently logged in user.- Windows
--security-opt "credentialspec=file://path/to/file.json"- directs the container to run using a Windows Group Managed Service Account.
The following table describes each line of the command and provides additional configuration instructions:
4) Validate the Container Status
Run the following command to retrieve logs from the container.
Replace the container name with the value specified to --name in the previous step.
podman logs minio
The command should return output similar to the following:
Run the following command to retrieve logs from the container.
Replace the container name with the value specified to --name in the previous step.
docker logs minio
The command should return output similar to the following:
Status:         1 Online, 0 Offline.
API: http://10.0.2.100:9000  http://127.0.0.1:9000
RootUser: myminioadmin
RootPass: minio-secret-key-change-me
Console: http://10.0.2.100:9001 http://127.0.0.1:9001
RootUser: myminioadmin
RootPass: minio-secret-key-change-me

Command-line: https://min.io/docs/minio/linux/reference/minio-mc.html
   $ mc alias set myminio http://10.0.2.100:9000 myminioadmin minio-secret-key-change-me

Documentation: https://min.io/docs/minio/container/index.html
Container Networks May Not Be Accessible Outside of the Host
The API and CONSOLE blocks may include the network interfaces for the container.
Clients outside of the container network cannot access the MinIO API or Console using these addresses.
External access requires using a network address for the container host machine and assumes the host firewall allows access to the related ports (9000 and 9001 in the examples).
5) Connect to the MinIO Service
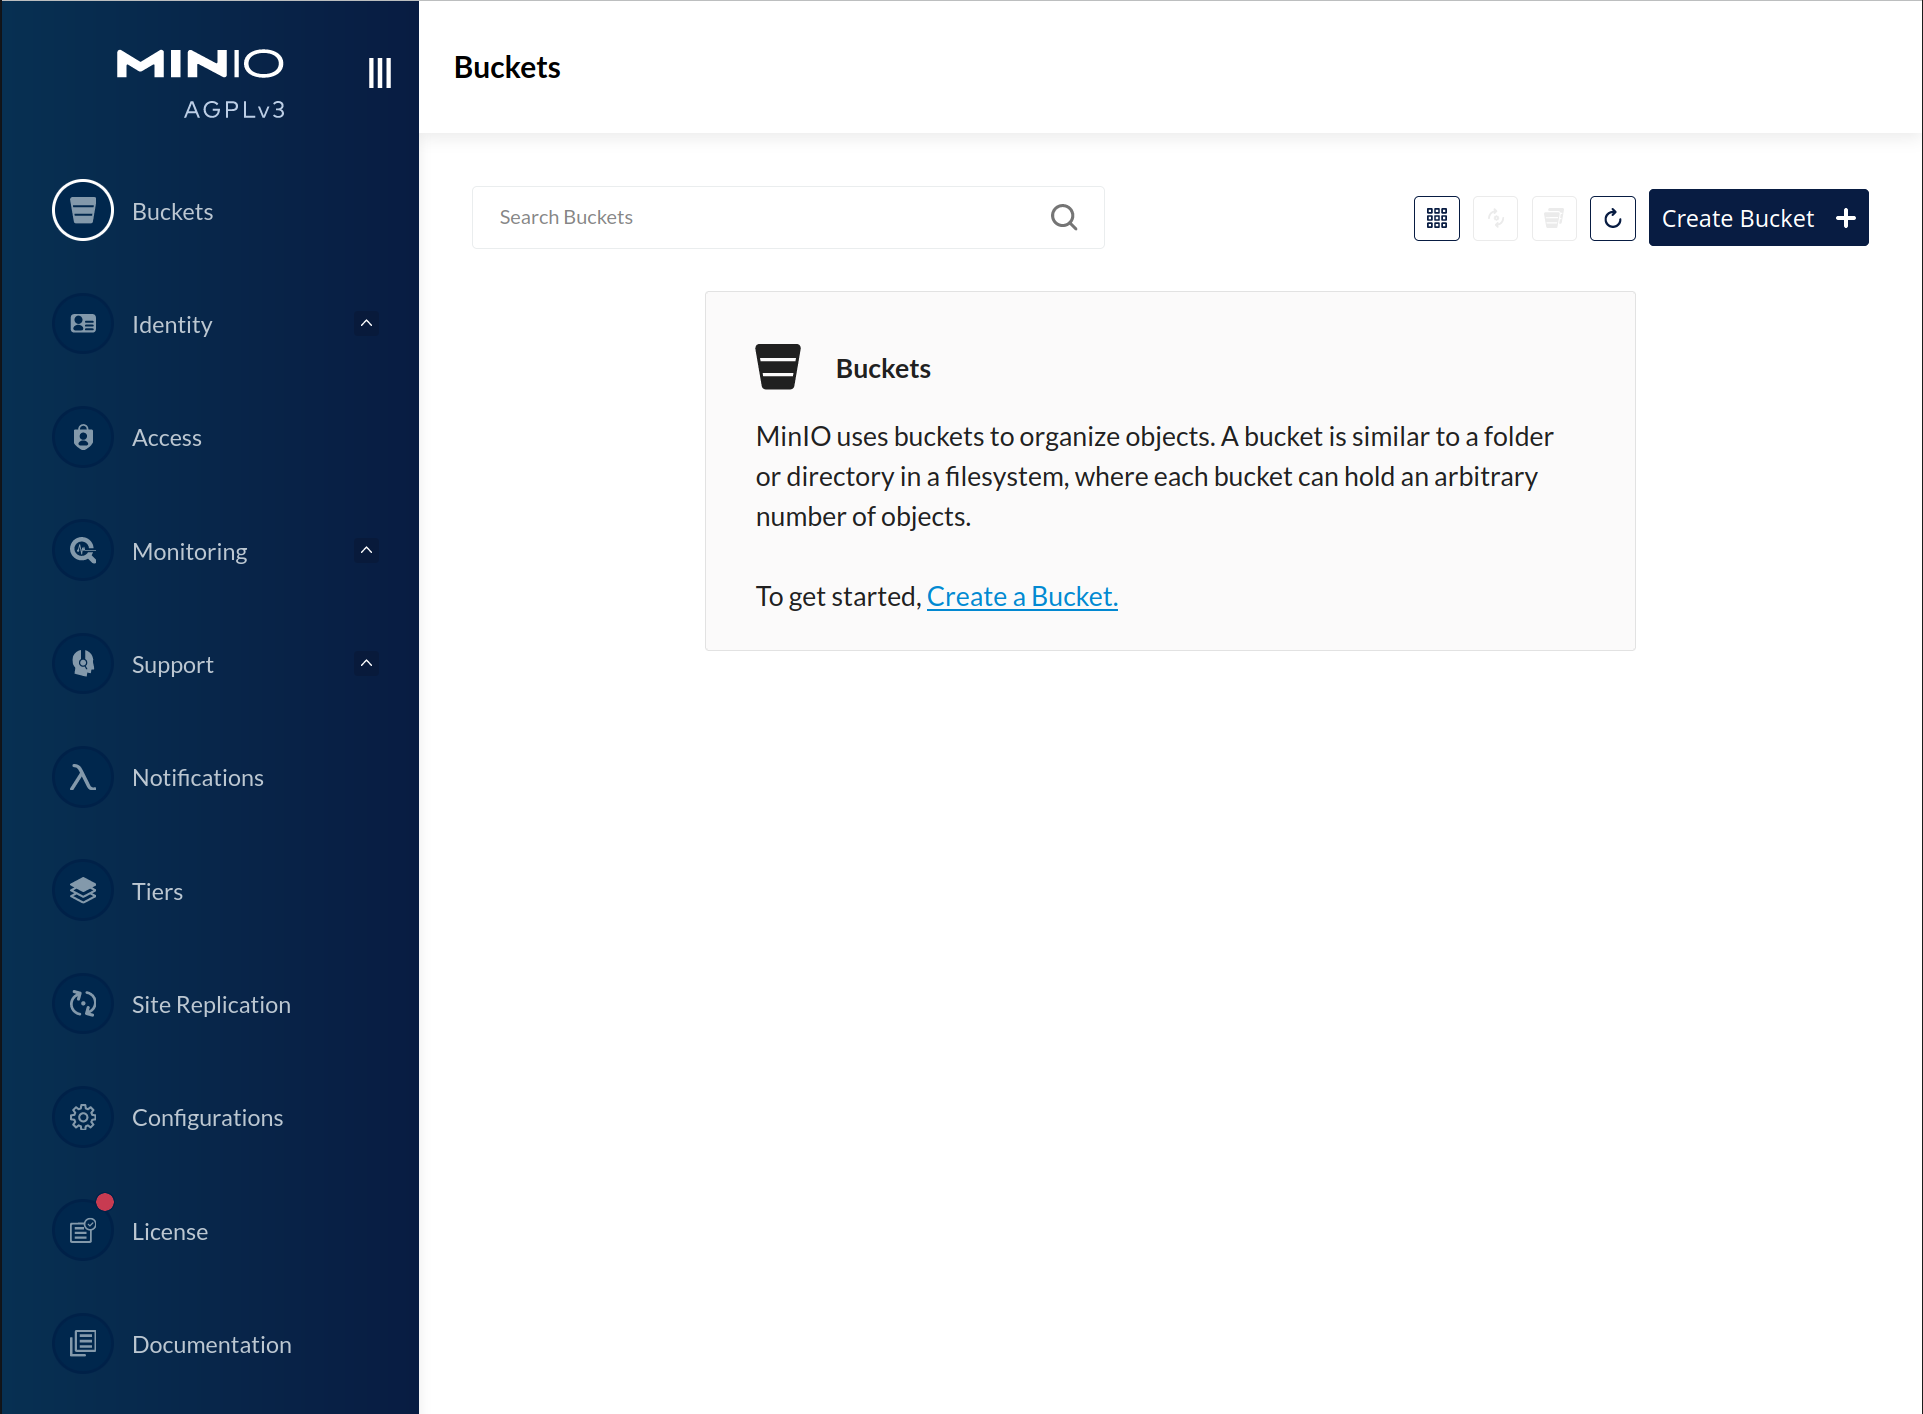
You can access the MinIO Web Console by entering http://localhost:9001 in your preferred browser. Any traffic to the MinIO Console port on the local host redirects to the container.
Log in with the MINIO_ROOT_USER and MINIO_ROOT_PASSWORD configured in the environment file specified to the container.
Each MinIO server includes its own embedded MinIO Console.
If your local host firewall permits external access to the Console port, other hosts on the same network can access the Console using the IP or hostname for your local host.
You can access the MinIO deployment over a Terminal or Shell using the MinIO Client (mc).
See MinIO Client Installation Quickstart for instructions on installing mc.
Create a new alias corresponding to the MinIO deployment.
Use a hostname or IP address for your local machine along with the S3 API port 9000 to access the MinIO deployment.
Any traffic to that port on the local host redirects to the container.
mc alias set minio-alias http://localhost:9000 myminioadmin minio-secret-key-change-me
Replace
minio-aliaswith the alias name to create for this deployment.Replace
myminioadminandminio-secret-key-change-mewith theMINIO_ROOT_USERandMINIO_ROOT_PASSWORDvalues in the environment file specified to the container.
The command should return success if the container is running and accessible at the specified port.
You can then interact with the container using any mc command.
If your local host firewall permits external access to the MinIO S3 API port, other hosts on the same network can access the MinIO deployment using the IP or hostname for your local host.
